Summerhouse project – part 1 It started as a second-hand…
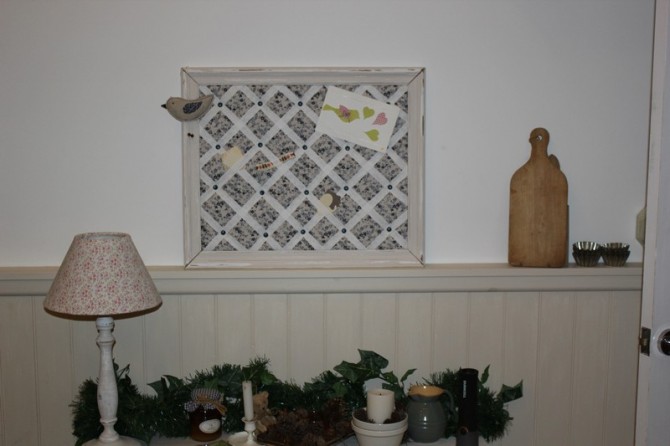
Painted Frame Memo Board
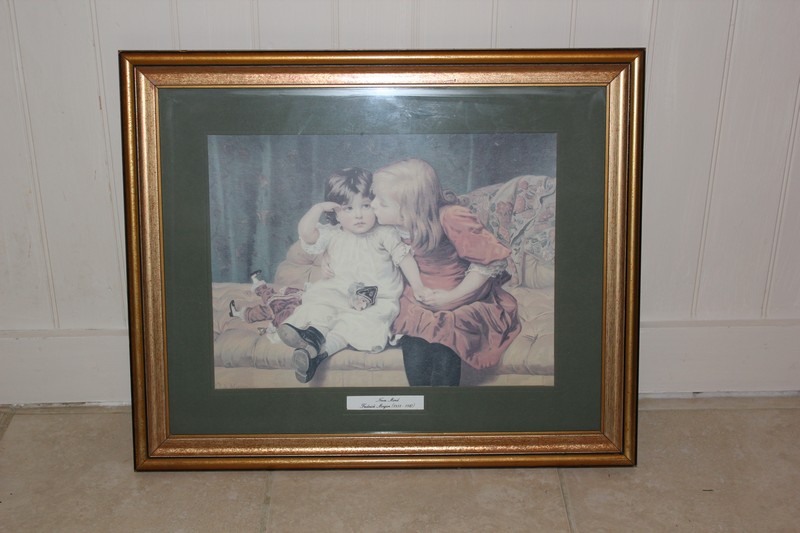
I was itching to make a nice big memo board for my sister. I could just imagine this propped against the wall next to her new sewing machine, virtually buried by pieces of fabric and scraps torn from magazines among her own doodles and ideas. She’s always coming up with great ideas and makes us all lovely gifts as pressies so, last Christmas, she found this in her stocking.
I used:
- Wooden frame (plastic would also be fine)
- Fine grade Sandpaper
- Undercoat
- Topcoat
- Small to medium Paint brushes (& cleaner if necessary)
- Solid furniture wax
- Fabric (more than twice the size of your frame)
- Medium to thick wadding
- Ribbon
- Picture hook
- Double-sided sticky tape
- Staple gun (or heavy duty stapler) and staples
- Upholstery pins or drawing pins
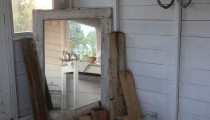
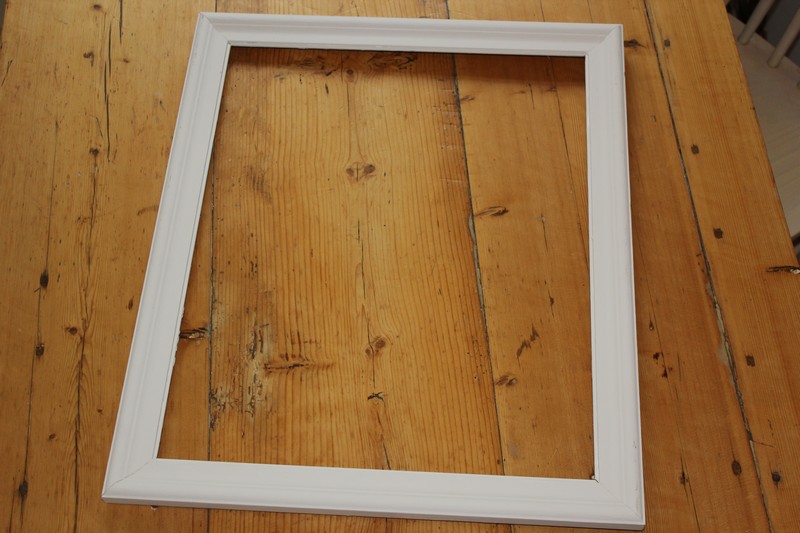
My frame went from this…
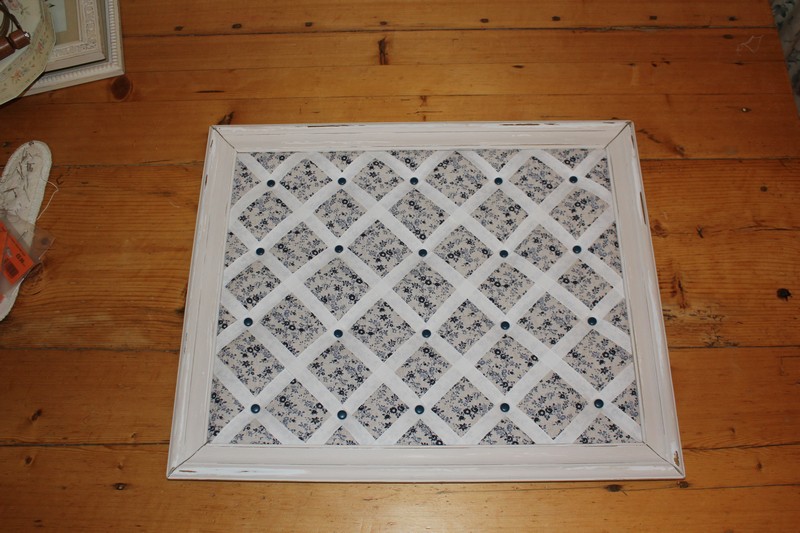
…to this in a couple of evenings
Firstly, painting the frame
- Take out the backing board and discard the glass. After washing the frame thoroughly, sand lightly to give a key for the paint to adhere to and wipe with a clean cloth.
- Paint at least 2 coats of undercoat, leaving to dry as per the manufacturer’s instructions on the tin. If your frame is plastic, be careful not to ‘overbrush’ the first coat as this can sometimes wipe the wet paint off again.
- Apply 2 coats of your chosen topcoat – I recommend allowing more time than the manufacturer’s instructions; if you don’t allow adequate time for the paint to harden properly, the paint will ‘drag’ when you start to sand it.
- Start sanding the edges of the frame, paying most attention to those parts which would naturally incur the most wear, like the corners. The overall effect your are aiming for is natural but not too symmetrical.
- When you are happy with the overall look, wipe the whole piece with a clean damp cloth to remove the loose paint & sandpaper. Apply a coat of wax, leaving it to harden before ‘buffing’ with a clean cloth.
Covering the board
- Detach any picture hooks from the backing board and trim a few millimetres from all around the board. If you miss this step, you may find the board is too big for the frame later, when you have added fabric to it. If you choose heavy fabric, you may need to trim a little more from the board.
- Cut your wadding to just smaller than the aperture. Use double-sided sticky tape to stick the wadding onto the backing board of the frame.

- Cut your chosen fabric into 2 pieces – one needs to be the same shape as your backing board but around 10 – 14 cm larger. The second piece should be the same shape but only 3 – 4cm larger than the board.
- Place your board on a flat surface. Place the larger piece of fabric over the front of the wadding, with the centre of it directly over the board. You should have 5 – 7cm of overlap on each side.
- Turn your board over and fix one of the longer sides with several staples. Use plenty of staples as you will be pulling the fabric taught!
- Next, fix the other long side, then the shorter sides, in the same way.
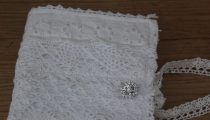
Adding the latticed ribbon
- Turn your board front side up. Allow several centimetres at the start of the ribbon to tuck behind the back and start placing your ribbon diagonally across your board. Wind the ribbon around the back as you go, working in the same direction. Then do the same in the opposite direction. Use dressmaker’s pins to temporarily tack the ribbon as you go. This allows you to get your grid exactly how you want it before using the stapler on the back of the board to fix the ribbon permanently. Place your frame loosely over the board to check the overall look before you secure with the staples. Obviously, if you choose to use separate pieces of ribbon you will save on the amount you use. I choose to use one piece as it allowed me to pull the ribbon tighter than I otherwise could have and it gave a more effective ‘quilted’ effect when pinned.
- Decide where to add your upholstery/drawing pins. You don’t necessarily need to use them on every crossover – I chose to use them on every other row.
Depending on the size of your pins, you may be able to push them in by hand or – as in my case – they may need hammering in! I wanted the board to stand up to plenty of use without any worry of the ribbon becoming loose over time, so I choose the larger (upholstery) type which I hammered in before turning the board over and (using the hammer again) ‘bent’ each pin slightly.
- Now that you have fixed your ribbon securely, you are ready to tidy the back. Fold the excess pieces of fabric over the back and staple to secure. Place your smaller piece of fabric over the back, fold in the edges, and staple to secure.
- If you would like to hang the frame, this can easily be done by simply adding 2 screw-in eyes and a piece of strong string, as shown.
It may appear a little wasteful to continue the ribbon around the back of the board and you can, of course, use separate pieces of ribbon instead. However, I found one continuous length to be much more durable over time, as separate pieces can become loose over time.
Cheap dressmaker’s pins (and even safety pins) can be a false economy: I have found that they are likely to bend with even moderate pressure, which can be very frustrating!