What I love about this wreath is its versatility -…

Painted Bookcase DIY
Scruffy, tea-stained, missing its glass doors and even a little bit puppy-chewed… What a sad little thing this bookcase was when I first saw it. Its redeeming features were that it was hard-wearing natural wood (teak), the right size for my kitchen, and anything I did could only improve it!
I took out the shelves and gave the whole thing a good wash, followed by a sand. I had to replace a few of the dowels to fill in unused bracket holes.
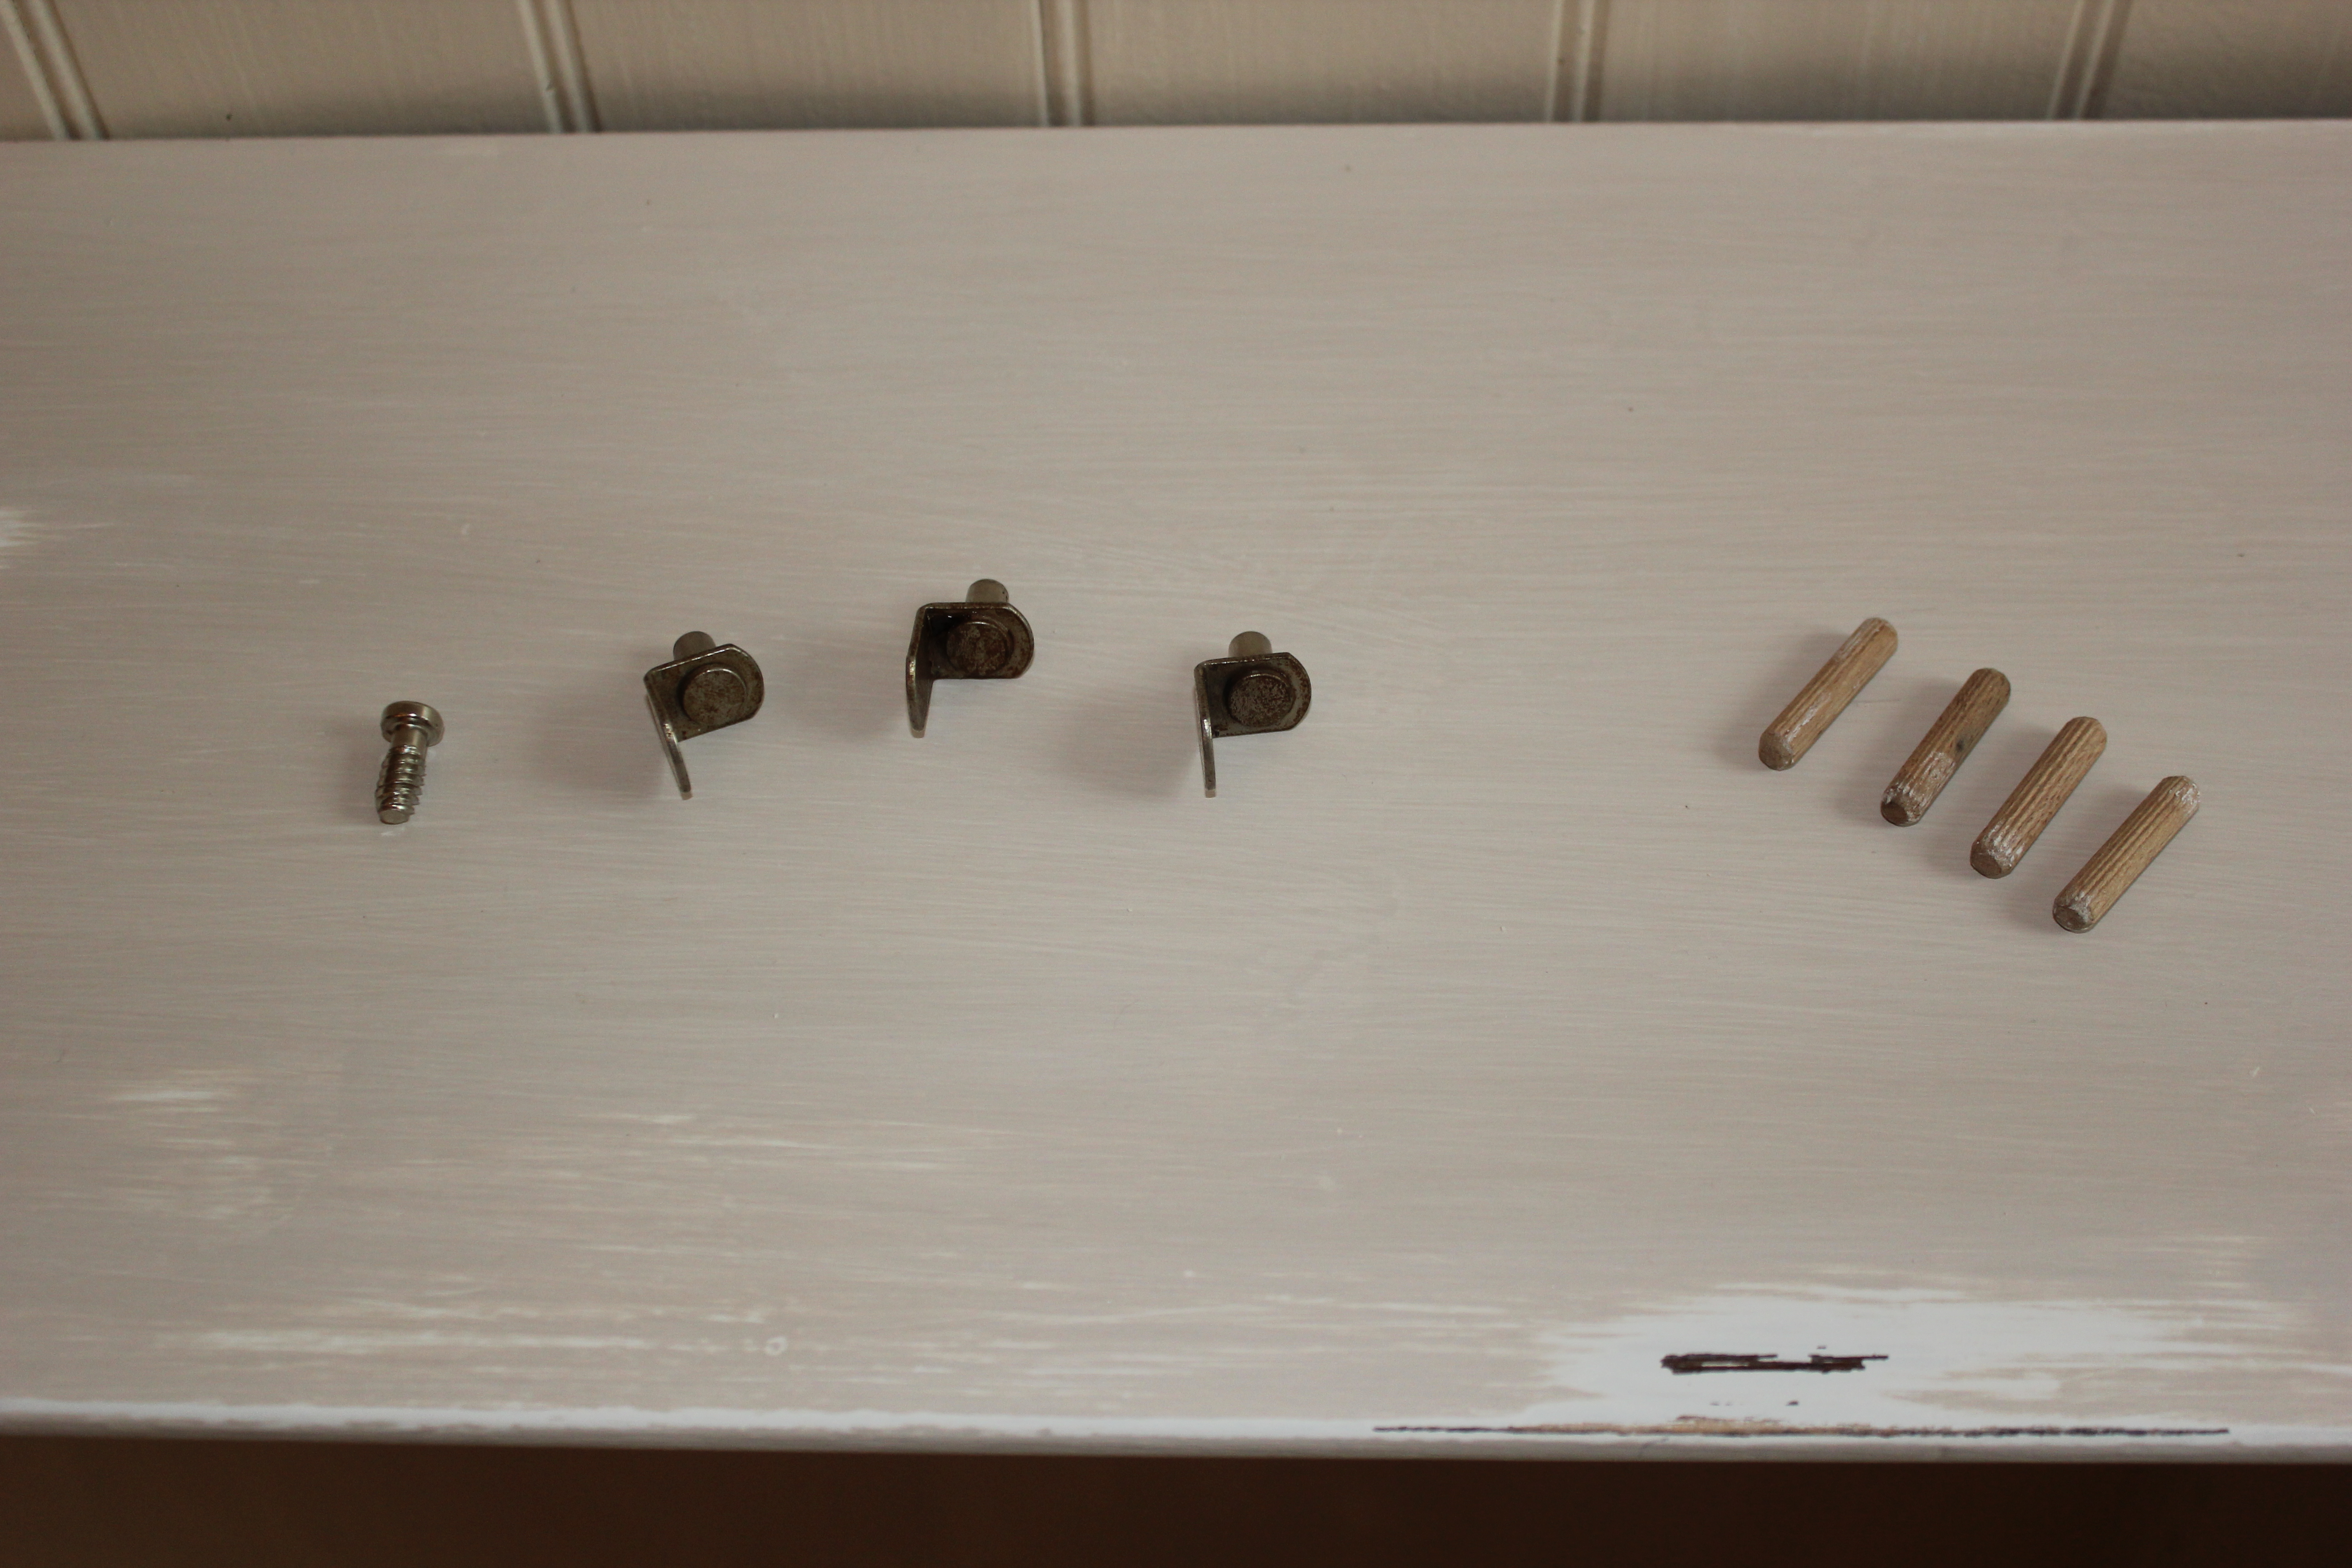
Plenty of undercoat and top coat.
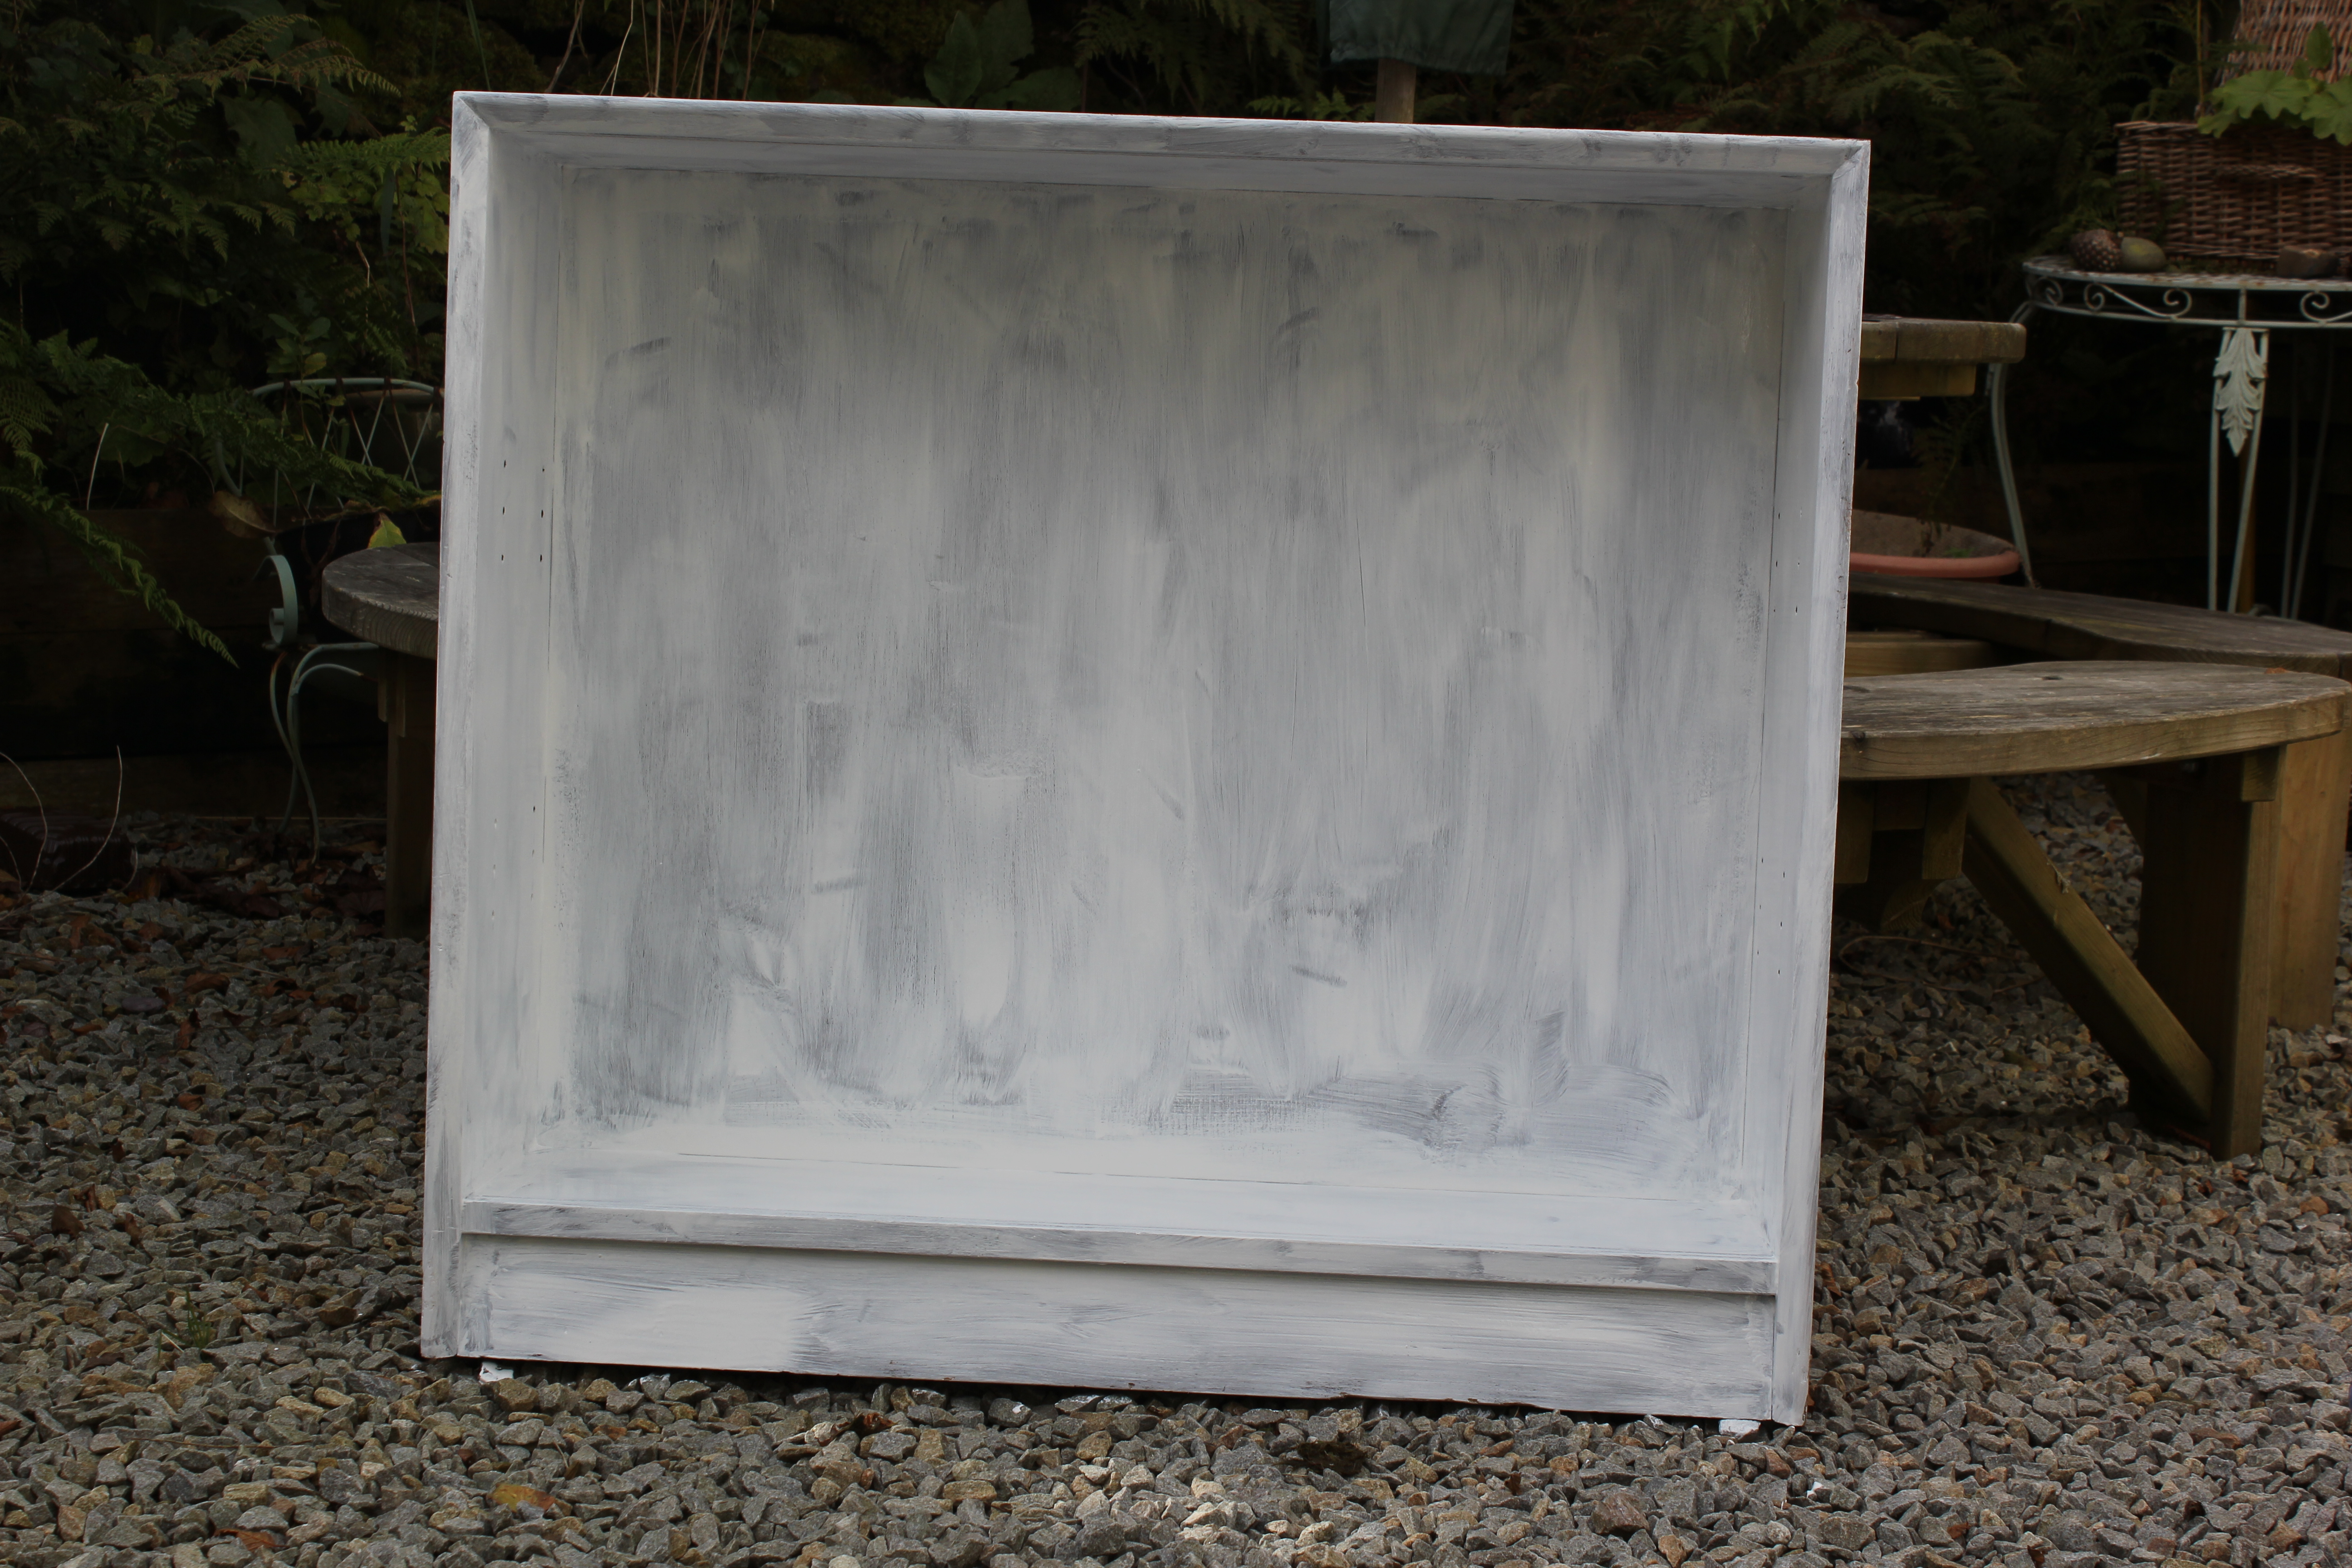
Then for the fun bit of sanding back. This had ‘real’ wear to disguise (a puppy had obviously tried it for breakfast at some point!), so I applied ed little extra top coat to those areas and left them un-sanded. Some waxing, some buffing…
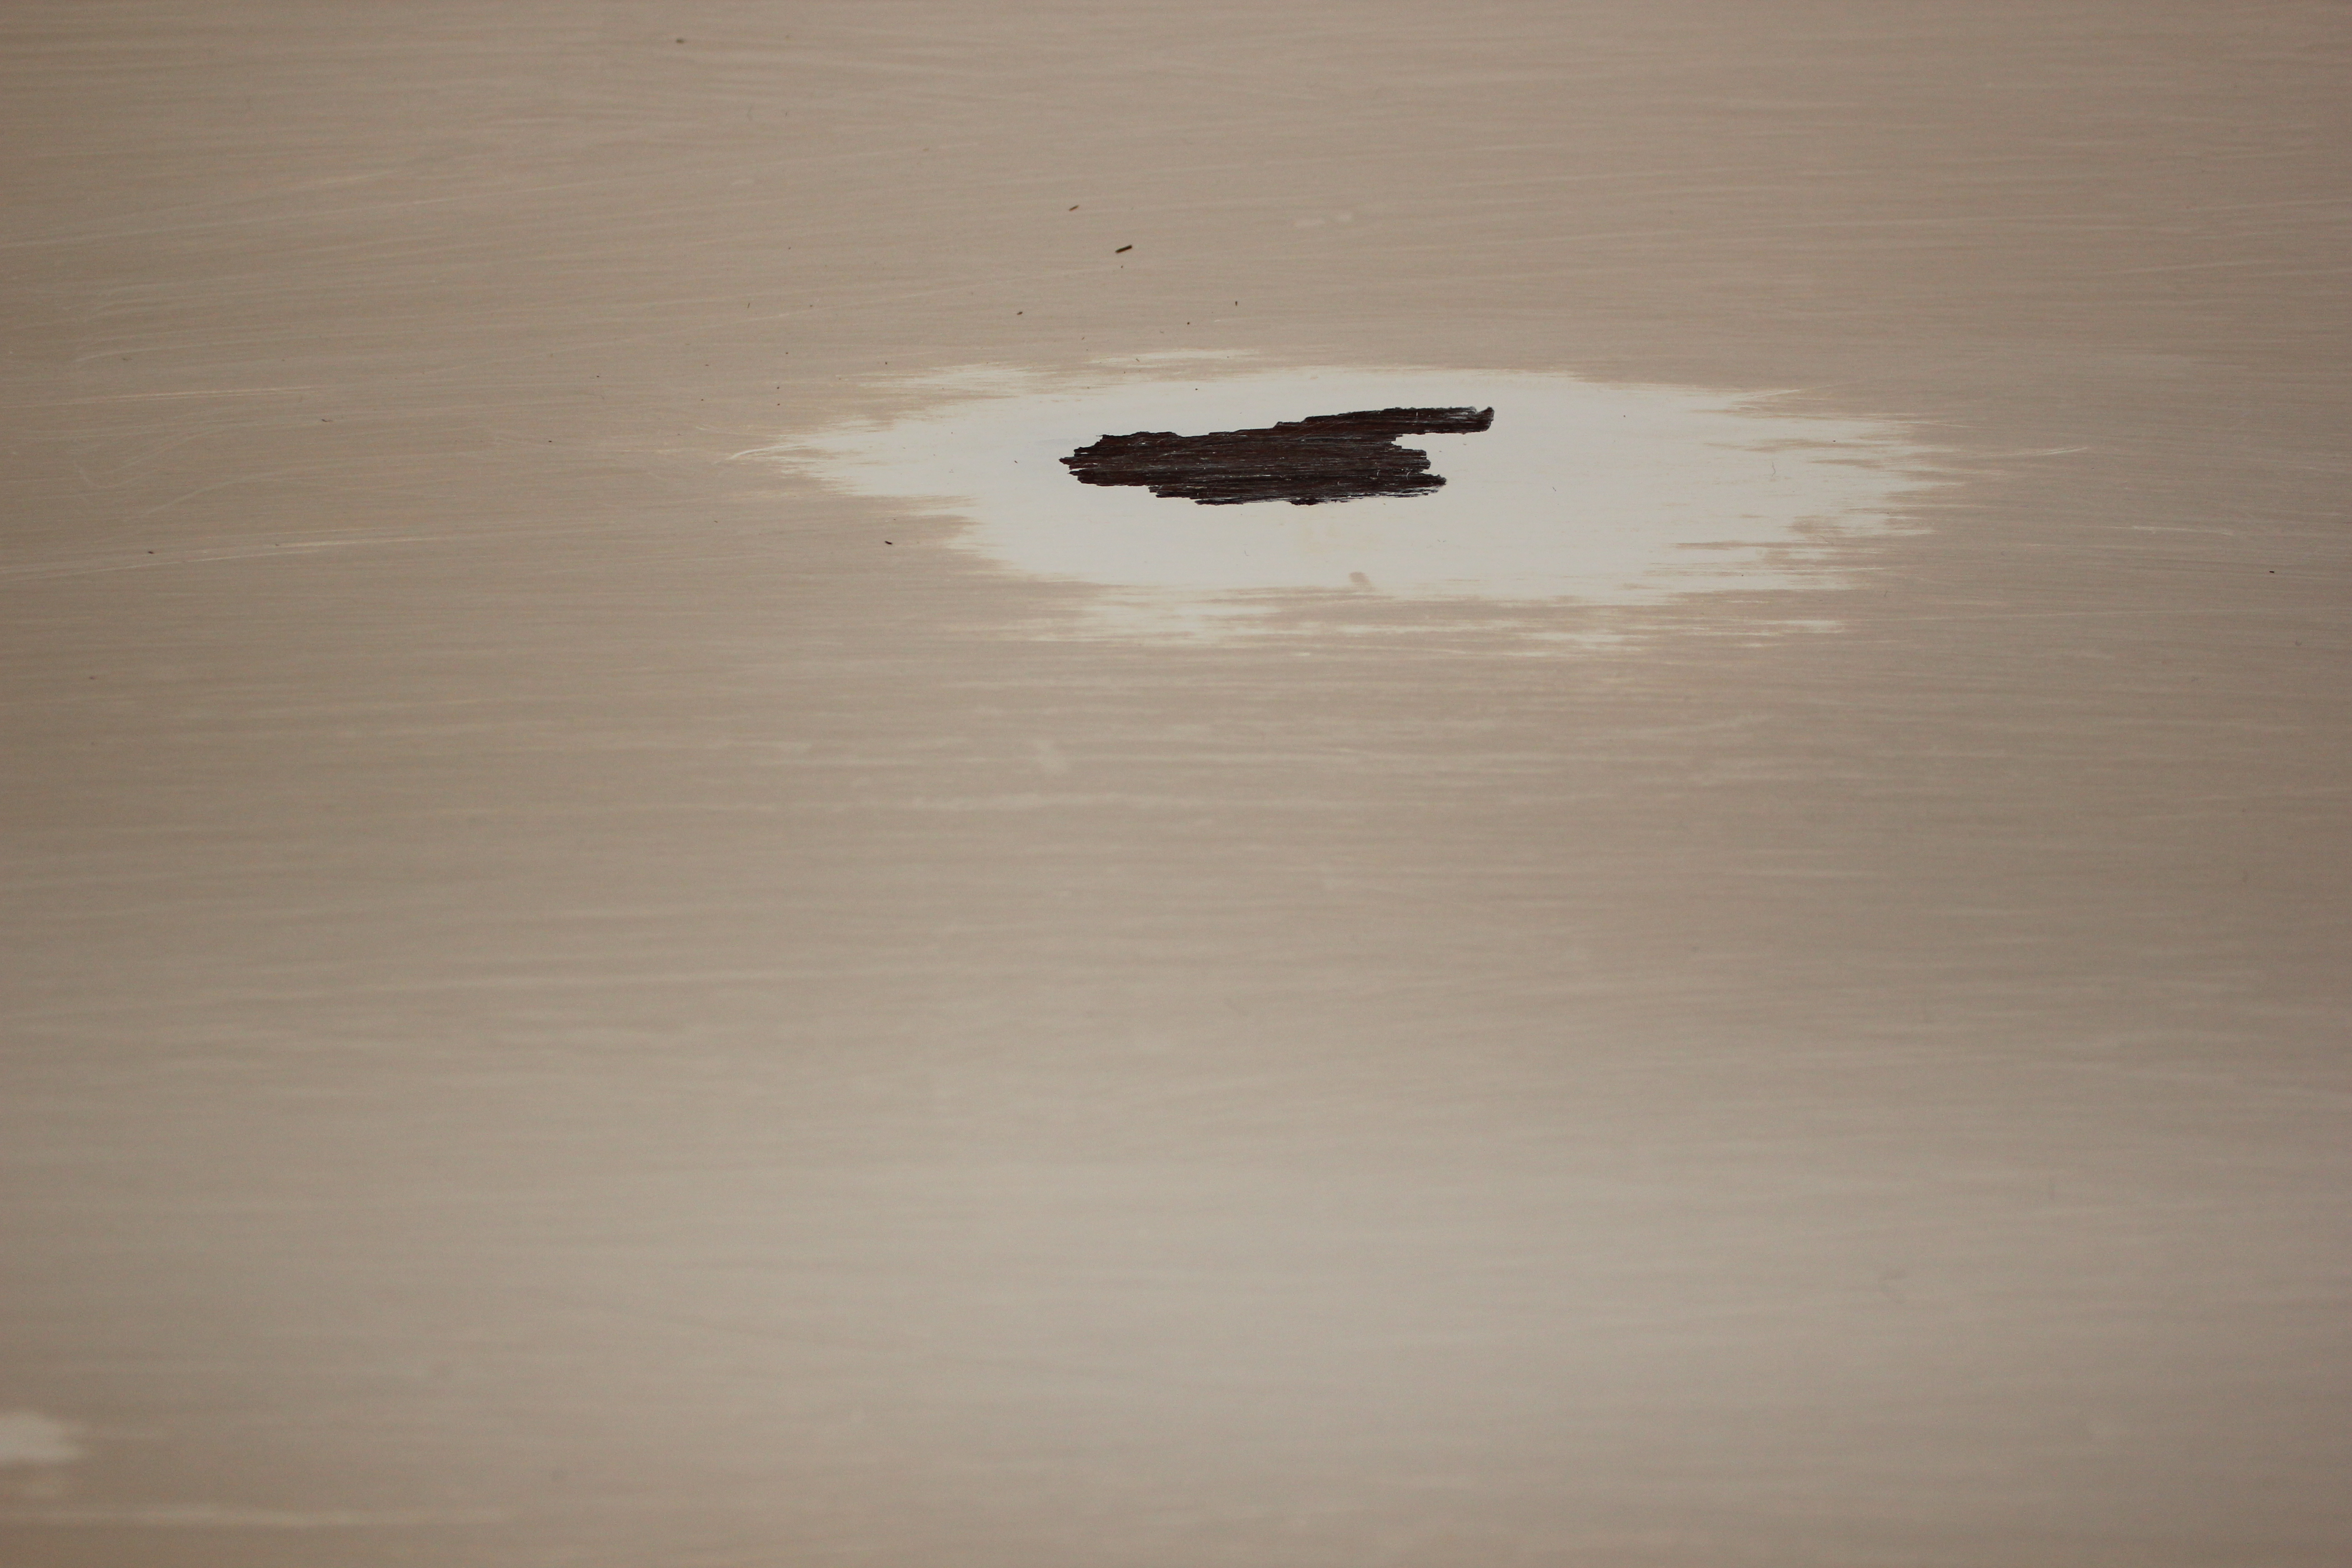
If you find you’re sometimes too eager with the sanding in places (which is surprisingly easy to do!), don’t despair. Before you start waxing, you can usually use a little of the top coat to ‘take back’ the sanding to some degree. This is usually best done with only a little paint on the brush (dry-brushing) but do make sure you don’t over-do it again! The best thing with ‘ageing’ paint in this way is that you can never really ruin the look – as a very last resort you can always paint the whole bookcase again with the topcoat and try again.
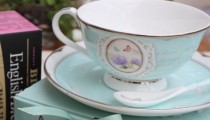
Cornishware
I fill my shelving with anything I like the look of, but wouldn’t it be great creaking with lovely blue Cornishware? You may be lucky enough to pick up lovely old second hand bits, but there are also several ranges of new pieces available including new colours…